How to directly transfer data between phones?
In the present era, smartphones are a critical part of our lives, containing a vast amount of our important data including texts, emails, passwords, and banking information to name but a few. So, when it is time to switch from your old Android phone to a new one, you will want to make sure that all the data is transferred over securely.
In the past, even a standard data transfer between mobile phones was a nerve-wracking task, let alone doing this in a secure manner. Thankfully Google now makes it extremely easy to securely migrate your texts, account passwords, photos, and other virtual data over to your new phone.
Direct Data transfer between phones involves two main steps.
- Back up your data on your old Android phone
- Restore data and settings from the old phone in the new Android phone
Step 1: Automatic and Manual Data Backup on your Phone
1.1: How to perform a data-back up on your old phone
Before switching to your new phone, you’ll need to make sure that all the data on your old phone is backed up to a cloud storage server of your choice. Google drive is a cloud-based storage space which allows you to restore all the virtual data to your new smartphone just by logging in with your Google account.
The best part is that the data is automatically backed up and does not count towards your 15GB of free cloud storage provided by Google. The automatic feature backs up text messages, call history, contacts, app data, and the device and home screen settings. So, before making a switch to a new phone, make sure that the data is present on the cloud.
For reference, we are using OPPO Find X5 Pro which comes with pre-installed with the latest Android 12 Snow Cone OS. The steps mentioned below will be the same for all the Android phones running on Android 8 (Oreo and above). In case you are unable to find the option, you can search for backup in the settings search bar to find it.
- Go to ’Settings’ on your Android phone.
- Locate the ‘About phone’
- Inside ‘About phone’ find the ‘Backup and restore’
- Switch the toggle ‘Back up my data’ to ‘on’ and your account will start backing up.
- Tap on ‘Backup account’ to see if your Google account has already been attached to the device.
Bonus tip: Go to contacts.google.com to see if all the contacts from your old phone are showing up to your Google account. This is important as the contacts that you see on this page are the ones that will be restored to your new Android phone.
Once you make sure that all the data has been successfully backed up to Google Drive, you can proceed with setting up the new smartphone. However, before going for it, make sure to check that your photos and videos are completely backed up too – these will go to Google photos.
1.2: Transfer of photos and videos to your new smartphone
Google Photos is a backup service by Google for photos and videos. The great thing about Google Photos is features like their seamless data backups and excellent sharing controls. On top of this Google can store photos and videos at their original quality - the one at which the photos were taken, and not a compressed or scaled-down version. You can even select ‘high quality' mode that retains the same level of details whilst cutting down on the actual file size. In case you have not set up Google Photos yet, here is how you can do it.
- Open the ‘Google Photos’ app on your mobile.
- Tap on your profile picture in the upper right corner of the screen.
- Choose ‘Photos settings’.
- Select ‘Backup & sync’.
- Do check that the toggle for ‘Back up & sync’ is set to ‘On’.
- Make sure to select ‘High quality’ option for the backup mode.
After the confirmation that photos and videos are backed up to Google Photos, you can go ahead with setting up your new phone.
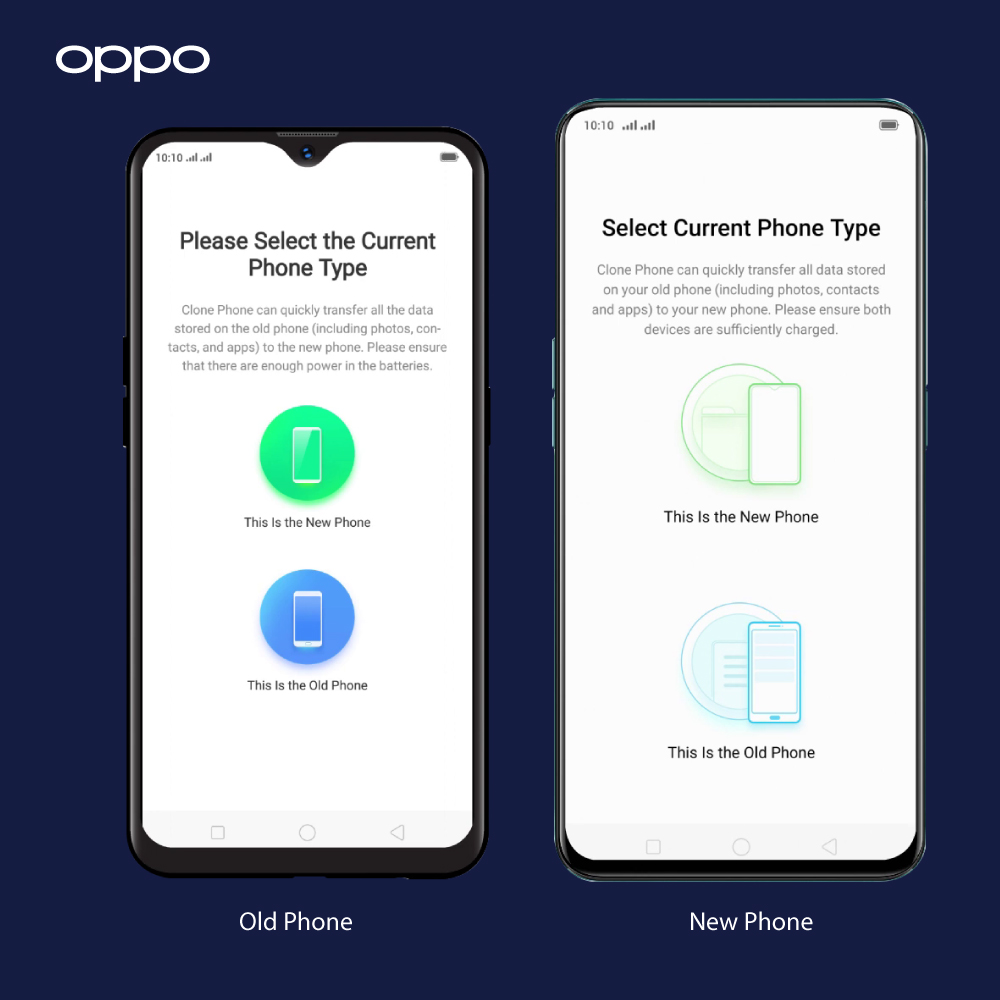
Step 2: Ways to restore all the data to your new Android phone
So, you have bought a new phone and can’t wait to set it up. Let’s explore the best way to restore data from your older device. You will need your older phone to proceed with this step, so make sure that you have it to hand (and have not done a ‘factory reset’ on it just yet).
- Choose your device language and hit ‘Start’ on the welcome page.
- Opt for your Wi-Fi networkand join it.
- Tap on ‘Next’at the ‘Copy apps & data’ screen to begin transferring data from your old phone.
- At the page named ‘Bring your data from’, go to the tab called ‘A backup from an Android phone’.
- The next page contains instructions for restoring of data. Click ‘Next’to start the data migration.
- Hit ‘Next’once again.
You will notice your smartphone’s model number written in the highlighted text on the ‘Verify your phone’ page. Check the transfer is working by staying on the same page as you will now need to authorise the data transfer from there. Here is what you need to do:
- Go to the ‘Settings’.
- Locate the ‘Google’
- Select ‘Set up & restore‘.
- Choose ‘Set up nearby device’.
- Tap on ‘Next’ at the ‘Getting started’
- Your phone will now start searching for nearby devices. You can then proceed with the security verification on both devices and then hit ‘Next’ to continue.
- Select ‘Copy’ at the ‘Copy to your new device?’ stage to now actually migrate data to your new phone.
- You will now see a ‘Copying your account’ progress bar at this point. Once you see this you can go back to your new phone.
At this point you will see a sign-in window for all the Google accounts associated with your old device. Now, because you opted for direct data transfer, you will not have to go through the two-factor authentication process when using this method. Don’t panic, if both phones lose connectivity at any time during the data restore, as you can always start over without issue.
- Sign into your Google account.
- Confirm the screen lock or pin number of your old mobile phone to authenticate the data migration.
- You will then reach the ‘Choose what to restore’ If you are willing to restore everything from your old Android phone to new one, leave all the settings as and hit ‘Restore’.
- In case you don’t want to install all the apps you had previously, you can go to ‘Apps’, and choose within the settings there which apps you want to install.
- Tap on ‘Restore’ to initiate installing them on your new smartphone.
The best thing about cloud restoration is that even your home screen can be restored. This includes the background and app layout so that you will be able to start using your new mobile phone without any extra help or messing around.
Once setup is completed and you go to the home screen, you will see the Play Store restoring your old phone’s data in the background. This may take up to an hour, depending on the amount of data to be restored as well as the quality of your internet connection.
The Bottom Line
As your virtual data contains much of your confidential and vital information, its secure transfer is vital for you to avoid falling victim to data leakage. If you follow and execute all the steps mentioned in the guide correctly, rest assured you will be able to securely transfer all your data in no time.
-
What Is ColorOS? A Beginner’s Guide to OPPO’s Android Skin
 18 June, 2025
 -
OPPO VOOC Charging: How Fast Charging Really Works
 2 June, 2025
 -
Best OPPO Accessories to Buy in 2025
 20 May, 2025
 -
How to Protect Your OPPO Phone? Cases, Screen Guards & More
 15 May, 2025
 -
ColorOS Tips & Tricks: Get the Most Out of Your OPPO Phone
 12 May, 2025
