How to use Nearby Share on Android
Just like many other features introduced by android, the Nearby Share is another one to enjoy at core. This latest feature enables android users to easily share files, documents and more with any other android device. If you have previously heard about Apple Airdrop, it works almost similar to that. You can simply find out all the nearby devices, connect with them, and share anything you want.
Sharing through 5G android phones has never been easier than this. Apart from Bluetooth and cable transferring, you can wirelessly transfer photos, videos, and large documents. The biggest advantage of Nearby Share is that you don’t need any Internet access to use its functionality. Here is how you can use it conveniently if you are an android smartphone user.
Using Nearby Share to transfer from Android to Android
To get along the Nearby Share fast, you do not need to hop over the mountains to know how to do it. Well, it is quite easy right from the first time you start using it. Just make sure to get your phone updated so that you have all the latest features of android. Your phone might not be updated if you are unable to see the option of Nearby in settings.
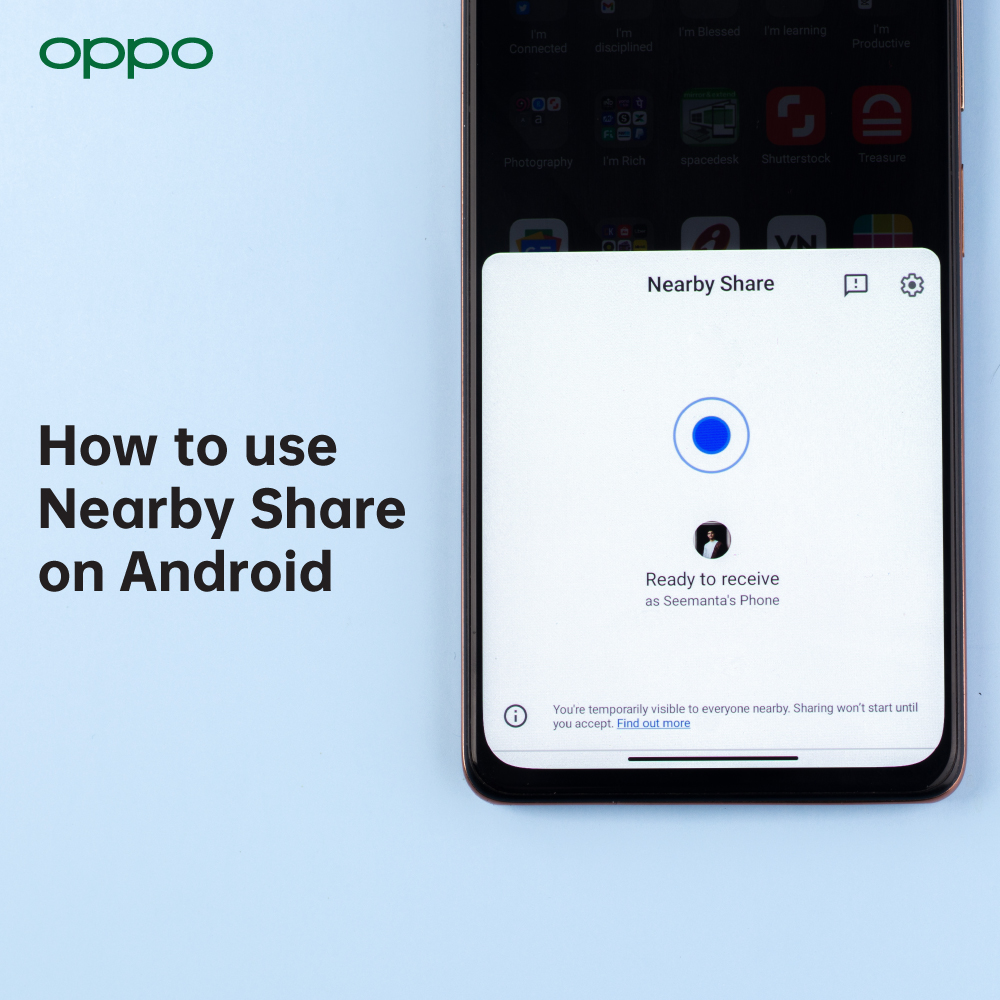
We have listed a clear and precise process of how you can use the Nearby Share to transfer anything between two devices.
- Click and hold on the file, image, or document that you need to transfer via Nearby Share.
- From the drop menu, click Share and then a list of sharing options will be listed.
- Tap on the Nearby Share icon from the menu list.
- Turn on the Nearby Share to access all the relative devices.
- A list of devices that can be found with their enabled Nearby locations will be available. It works like Bluetooth. If you turn on the Bluetooth, it will be faster and easier to find out the devices.
- From the list, select the device that you need to transfer the file or document to.
- You can now also select a couple of photos, videos, or any document files altogether to share it to any other device.
- After you tap on the required phone name that you want to share the file with, it will be transferred in an instant.
How to Customise your Nearby Share Settings
You can edit your NearBy connection name with the default phone name appearing. In addition, you can also checkout other settings that you can change quite easily.
- Go to the Settings column from your phone’s menu.
- In the setting, tap Google > Device Connections.
- Under the Device Connection menu list, you can find the Nearby Share option.
- Now you will be able to tweak and alter multiple settings of your Nearby functionality.
- Change the name by simply editing it out after you click Device Name
- There is also Device Visibility option which allows you to make your device accessible to only certain other android phones. This is useful for android users who like to be secure with sharing their personal or crucial business files.
- If you click Data Usage, you will be able to select whether your device use Wi-Fi, mobile data or offline connection.
There are more options to choose and alter when it comes to the settings of your Nearby Share mobile function. You can simply change any settings by directly hopping on to the settings menu.
Accept Nearby Share on your Android Phone
Getting to accept the nearby phones that are requesting or appearing to share files is easy as ever. You do not need to activate any particular settings or share your data with another device.
Here are the steps that you need to follow to accept the nearby share file. You can just receive the file by viewing it and being active.
- A notification pop-up indicating Nearby Share will appear on your screen when there is another phone using the sending.
- Click Turn on once you see the notification or enable bar appearing on your display.
- Now your smartphone will show what’s been shared.
- Tap on “Accept” to let it share and receive the expected files or documents.
There is it, done and dusted. This is exactly how you receive any files, documents, images or any other stuff from one android to another.
Send Play Store Apps from one Android phone to Another
Did you know you can also send a whole application from an android to another phone? Yes! You read that right, you can do that quite easily without any unnecessary hurdle.
- From your Google Play store, visit the app that you need to send.
- On the to right corner of the screen where your profile pic appears, click the three dots.
- In the drop-down menu, select “Manage Apps and Device” .
- A drop-down menu list will appear where you get to see the Share Apps option. Beneath it, there are two choices available with Send and Receive.
- If you want to send the apps, you can click Share Apps > Send. Similarly, you can use the receive option below share apps if you want to.
- When you click the Send option, a list of apps with the title of Send Apps will appear. You can send more than one app at the same time where you can checklist the app that you need to send.
- After you select the app, you can then Select a Receiver. If the receiver end has enabled receiving using the same method we just mentioned, its name will appear.
- Click on the Receiver’s name from the appeared devices.
- There will be a pairing code on the receiver’s end that they must accept.
- The two devices will now be connected, and apps will be transferred whether its just the one app or two.
- The receiver shall also get the option of which ever app they need to install.
Final Note
Here is how you can use the Nearby Share on your android phone. There is no rocket science methodology that you need to apply while using this feature. Hence, trying it just now can be great fun without having to use cable or a little lengthier Bluetooth function. If you are also on the hunt of latest android mobile phones in the market, our recommendation has to the official OPPO UK store.
-
What Is ColorOS? A Beginner’s Guide to OPPO’s Android Skin
 18 June, 2025
 -
OPPO VOOC Charging: How Fast Charging Really Works
 2 June, 2025
 -
Best OPPO Accessories to Buy in 2025
 20 May, 2025
 -
How to Protect Your OPPO Phone? Cases, Screen Guards & More
 15 May, 2025
 -
ColorOS Tips & Tricks: Get the Most Out of Your OPPO Phone
 12 May, 2025
