How to make Cooking Video with Smartphone
How to make Cooking Video with Smartphone
You might have seen a lot of quality videos wandering on famous online platforms like YouTube, Facebook, or Instagram. If you have ever wondered about making a cooking video yourself that could capture eyes and then dropped the idea, you could think on it again.
Well, to create an excellent cooking video, you might think you need an extra set of equipment. But that’s not exactly the case. Having a smartphone that is packed with the latest camera and a decent overall speed would do it all. Cooking videos need to be colourful with some of the greatest angles that fascinates the eyes of the viewer. There is not a significant need of heavy machines or extra investment, as you can still make great videos with your 5G android smartphones.
This article is all about it! You can read after the most essential tricks and tips on how to make cooking video with a smartphone. Whether or not you are starting your own food blog or vlog, these methods shall help you big time.
Step 1: Get a nice Camera Smartphone
Its not essential to invest big bucks on professional DSLRs or cameras that are totally out of your range. Now that the technology has advanced, you can use cellphones cameras to create magic. A lot of influencers have been preferring the usage of best camera phones. Not only they are handy but can also be accessible any time you need, plus the quality of smartphones cameras have drastically improved.
Make sure to get yourself a mobile phone with a potential camera that can shoot nice videos with decent Resolution. All you have to do is buy latest smartphone or use an older one if it has a better camera.
Step 2: Use your Phone Camera at 1080p Resolution or more
The second thing to do when you have your phone with you is to check at what resolution you are shooting your phone. Make sure to at least set the camera at HD resolution or more. If you don’t know what the current phone’s resolution is, you need to go to camera settings. Some phones have more than once choices that you can shoot your videos through and the best to choose if 1080p.
Having a high-resolution will make your videos crisp and detailed. The colours, of course are also contrasted well with which ever objects you are using in the videos. The better the camera quality becomes, the better your videos will turn out to be.
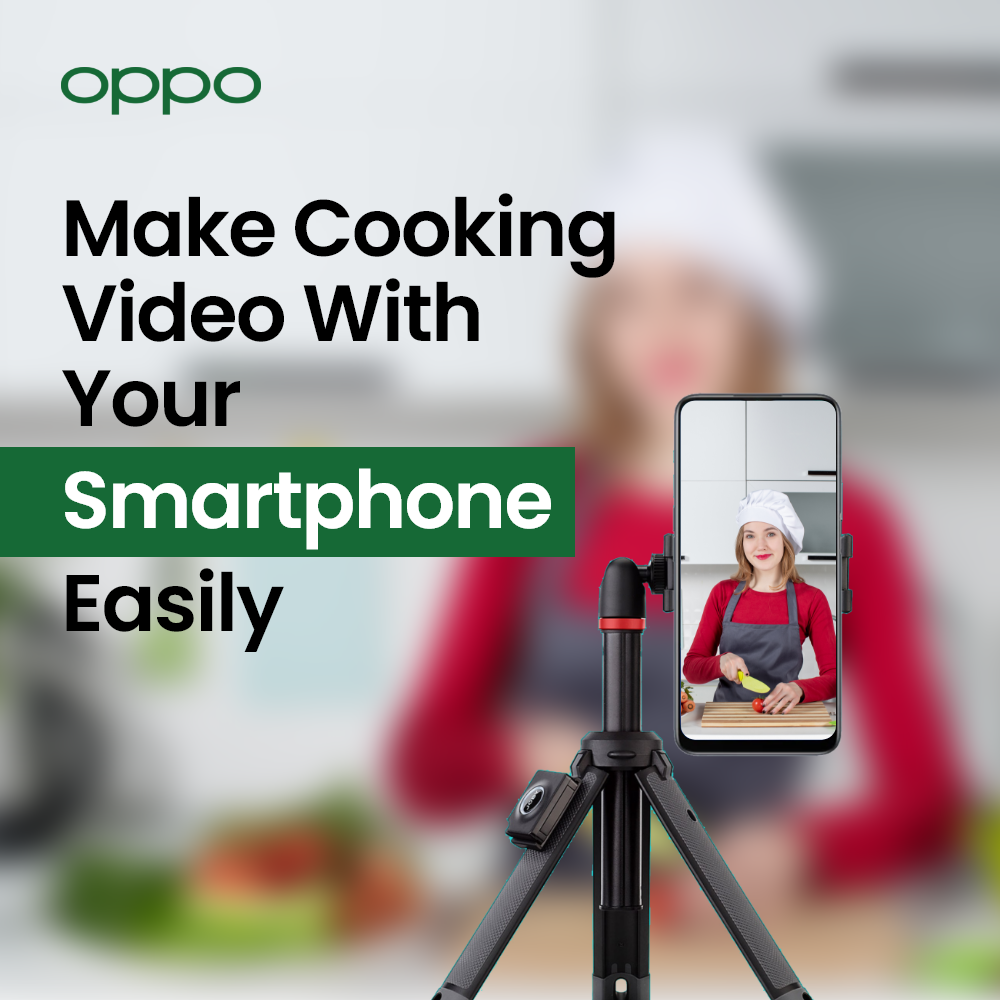
Step 3: Buy a Tripod for Good Angles
Tripods are not necessarily expensive these days. You can get smartphone stands and tripods everywhere in different price ranges. You can purchase expensive and inexpensive tripods with similar and extra features according to your preference. Use your smartphone with a tripod stand whenever you are starting to shoot your cooking video. It helps in stabilization and your video will never come out as blur. Plus, if you are moving your camera, you get a much better quality and zero shaking in your phones.
Step 4: Get a Ring Light or Useful Lighting
Your video should never be dim or dull, especially due to lighting. There are more than one ways through which you can use a great lighting around your smartphone camera while shooting. Buying a ring light shall definitely be a reasonable idea, but if you can invest a little more, you can buy other professional lights.
Another important thing to do is getting a light diffuser to make it soft. Sometimes extra sharp light will cover the objects and food accessories with a very pale blunt coverage. Using a softer light will get every food item, or any usable to be portrayed with great colours and shadows.
Step 5: Make a Storyboard or Script
Even though, some of the cooking recipes have been in our mind since forever and unlikely to be forgotten, you still need a script. Make sure to create a storyline of your video and how you will start or end the video. You can choose to create your video with various styles, for example, you can just include yourself and start with a different intro. Another example would be shooting from way different angles and coming across the camera with a whole new pace.
Writing down all the script and checking on which things you need in advance is a time-saving and convenient method. You must make sure that you either get yourself a storyboard or jot down every little detail on the paper.
Step 6: Keep the food items ready
Did you ever see a food video where all of the food accessories are always placed and loaded with the recipe ingredients already? Well, that is because not only it saves huge time but appears very attractive for an audience eye. You should already put out all the ingredients that you need to use in the recipe and place them near your shooting corner.
Step 7: Use beautiful dishes and garnishes
As we already mentioned about how you should keep your ingredients ready, another part of it is to keep them in beautiful-looking pots or dishes. This will help your video look better, and classier to appeal every viewer. You can take out the most good-looking dish set or buy new trays and small jars for putting in your ingredient.
Garnishing your every dish is another part of the play. You can use a gorgeous garnishing dish for ending your video on a great scenery. Making your dish look even better at the end will make the viewers eye look for more for the next video and mouthwatering. You can definitely buy 2 or 3 garnishing pots and dishes for giving your cooking video a touch of added beauty.
Step 8: Get one corner of the Kitchen settled
This is one of tricks that can help you create nicer looking videos with a hint of good interior and well-managed kitchen. You can use the best corner of the kitchen or making room separately for a professional video. Place the best crockery set on the sides or middle, considering how well it will look on the camera.
Step 9: The top angle is a must catch
Although there are several angles that you can shoot your video from, the top angle is a must inclusion. If you haven’t yet come across the cooking videos shot from a top angle, you have missed the best ones. The top angle of the food is the best one to capture. Some of the leading cooking experts and influencers preferably use it for getting the best output and showcasing everything with clarity. If you don’t want to include every second of this angle, you can at least put intermediate clips of it to make your video attractive.
Step 10: Prefer Shorter Clips
Editing a video is a job and brings out a significant change in any of the videos. You should use a shorter interval of clips to make your editing procedure easier. Its hard to trim the long videos and take out the best parts. If you keep in mind about making shorter clips in between your breaks, you can edit the video and decide the scheme much conveniently.
Step 11: A great Video editing Software
A good editing in any video clip can transform your video to a whole another level. You should always make sure to download the latest and most effective editing software tools for your video. If you can afford a paid software, you must go for it for even better features and great ending result. Our software includes Adobe premiere effects, Filmora, Wondershare and InShot.
Step 12: The Importance of Texts
Including the right texts at right time in the cooking video clip will give it a meaning. The more understandable your cooking video becomes, the more appealing it will be for the eyes of the viewers. You can decide the script or add texts once you are done with the editing, or you may add them with the flow. Adding intriguing texts in your videos will make it doubly good.
Bottom Line
You could be just one step away from recording a world-class cooking video. Having a good camera smartphone will probably ease out any other shortcomings or issues that you could feel. OPPO is one of our favourite brands for the best android phones with good camera quality. You can additionally have a look at the best OPPO bundle offers and latest holiday deals at its official UK store.
-
What Is ColorOS? A Beginner’s Guide to OPPO’s Android Skin
 18 June, 2025
 -
OPPO VOOC Charging: How Fast Charging Really Works
 2 June, 2025
 -
Best OPPO Accessories to Buy in 2025
 20 May, 2025
 -
How to Protect Your OPPO Phone? Cases, Screen Guards & More
 15 May, 2025
 -
ColorOS Tips & Tricks: Get the Most Out of Your OPPO Phone
 12 May, 2025
